Yesterday I went to London Zoo to look at different environments. I didn't just look at environments related to my theme but I looked at lots of different environments, how things were adjusted to suit each animal and to see things interact with the environment. I also went to the Museum of London to find out about the history of London. Unfortunately I was not allowed to take any photos using flash and it was very dark so very few photographs were visible. However, I did pick up a lot of information about London around the time of the plague and the conditions in medieval London. I also found out about the clothes they would wear and how they would do everyday things like washing and and going to market.
These are the images I took of different types of environment. These show the different types of environment and how the animals are interacting in their environment:
This is the penguin pool. The bowl is filled with water so they can swim around but they have added rocks and minimal amounts of bushes and trees.

This is a bird enclosure. It shows how they have kept the environment same as the surroundings, with trees and bushes, but have put a large net over it to keep the birds in.
This was in the reptile house. The environment is very hot and dry. There are some logs and trees to climb up onto. This is to suit the animal.
This is an environment I found in the reptile house. There was no animals in this enclosure but the textures are similar to that which we will use in our environment as we are using timber. Around that era, the floor was mainly wooden floor boards so this image gives good reference.
This environment has been specifically designed for the frog which lives here. It is very hot and damp and bright which replicates its natural environment.
This environment shows how the environment is used. This gorilla enclosure uses the ropes and trees trunks to use as exercise.
This water environment shows how the objects have to adapt to the water. The rocks make good hiding places for the animals that live within the environment.
The next set of pictures are of different textures that will be relevant for the project brief. They are textures of wood and different buildings. They also show water on different materials because our scene is going to have water or sewage in making the streets wet. This shows how the water reflects off the different materials.
This image shows the way water soaks into the walls. The water mainly soaks into the edges leaving the middle quite dry which is why it forms the water pattern it does. In very wet weather,the middle of the bricks tend to dry first as the water does not soak in as far as there are not as many cracks and crevices for the water to go into.
This was a good picture to show texture and also patterns. It would be a good pattern to use on walls or decoration on the buildings.
This image is to show the texture of wood close up. It is going to be good reference in our scene if we decide that it is going to be a wet and rainy day because we can look at how the water stays in the wood.
This rock shows a good texture that can be used on the cobbled street. It is the colour that is similar to the colour we will use and the different tones on the rock give a good reference.
This image shows how the water sits on top of the wood and how this effects the texture underneath. In our scene, there will be some materials that water will not soak into so this is good reference for that.
This is good reference for the wood we will use on the buildings and shows a knot which will make our model and texture more realistic.
This picture is to show the water on the railing. It shows how water puddles and pools on the material on the railing. This is going to be useful if we want to add water on the roofs or on the floor.
This is a wall texture will could offer a different texture rather than a half timber house texture.
This is another texture which shows the rain on the stone, rock and brick. This will come in handy when texturing the roof. This will give me an idea of what the reflections should look like coming off the roof.
This is a new wooden wall they created at the zoo. This is what the timber will look like on the house however it will look much older than this as this timber looks very new.
This is a good wall reference image. The image below is a close up of the wall and shows the texture of it. This is going to help when doing our cobbled street and it looks old and will help us when trying to make it look realistic.
This is a close up of the wall to give a better idea of what the texture will look like.
This is a cobbled bit of paving which is the effect will be attempting in our scene. The colour is not quite what we are using as we are looking for a greyer colour. However, the texture is exactly what we are aiming for.
This shows the effect of water on the wood. It shows how the timber will look when it is slightly wet. If we decide to have the scene slightly wet or rainy.
This is another example of the texture which will be used between the timber. It shows how it has been worn and how it would look over time.
This shows how the render material ages. It shows how the weather effects the environment.
The pictures above and below are good examples of how the buildings will look. They are good examples of aged buildings and the render material which will be used between the timber. It also shows how the material looks wet.
This texture could be used inside the buildings as a wall decoration or on the chairs, for example.
The following textures will be useful in the environment we are going to create.
This wood will be good to use as the timber texture.
This brick will be good to use on the floor as the cobbled floor.
This is a good wall texture and would be a good texture to use as the wall parts between the timber.
Some of these textures will be useful on the half timber houses that we need to build in our environment. The effect of the rain on some of the rocks will also be useful when we build the cobbled street.
When I went to the Museum of London, I managed to take some photos to give us a good idea of what life was like back then. It gave me an idea of the houses and the clothing that they wore.
This was a paved path outside of the museum but gave a good reference of the how the roads and paths would look in the era we are looking at. The drains would definitely not have been around then so they are to be ignored.
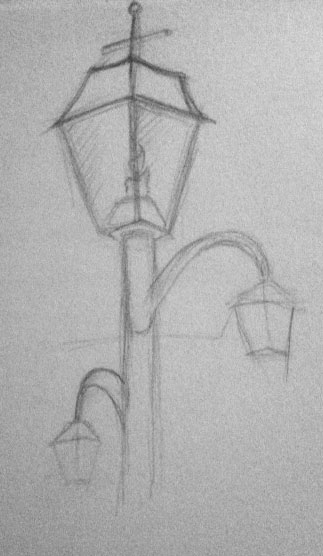
Below shows a good reference of the pumps that people would have used back then to get water. I learnt that these would often get infected with bacteria and could easily spread illness. They were the one of the only sources of water.
The picture below shows the type of bucket people would have used in there houses for a variety of things. The most common uses were to hold water for washing or for mopping.
Below shows a half timber house. This is the sort of houses that we are looking to model. These types of houses were very common around the era and were seen in and out of London.
Below are items of clothing that were taken from the era. These would be worn at more special occasions and were not really worn by the poorer folk.
The image below shows a shop window form around that era. They would sell all different things but would mainly be found down the main roads rather than the back streets.
This, below, is a cart which would be found around the markets. Carts were also used to shovel sewage out of the gutters but they looked very similar to these but lower to the ground and looked more like wheelbarrows.
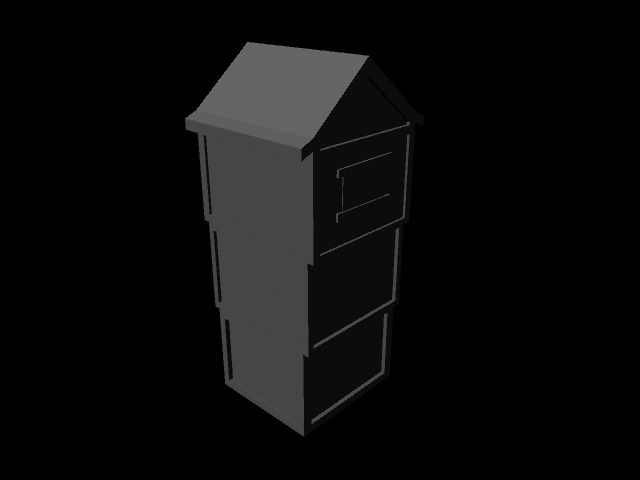
The images below shows a typical house. They were very cramped and top heavy. The higher floors were always larger than the lower ones so they looked as though they were going to topple over. They were also timber framed with large wooden doors. They also had low ceilings.
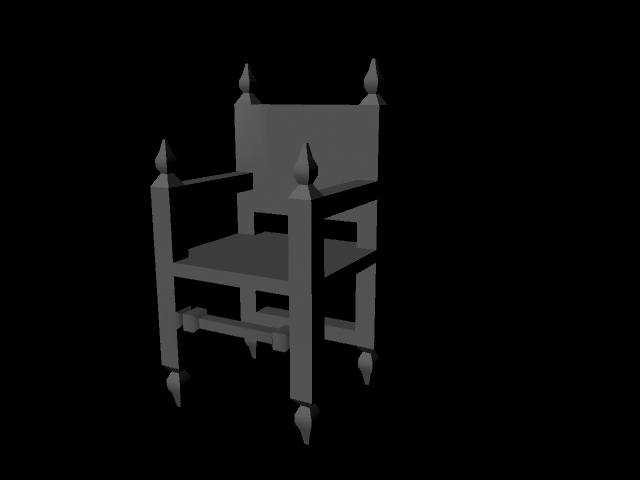
This shows the type of panelling people would have in their houses. The richer people tended to have this with intricate patterns and crests. The poorer would have much plainer panelling, if any.
This has helped me with my research and understanding London in that era. It will help me model my house and texture it correctly. There is a lot of detail but I think it will be worth doing.